iClicker Instructor Setup
Download iClicker Cloud and Create Your Free Account
Start by downloading and installing the iClicker Cloud standalone application. Classroom computers have Deep Freeze and are wiped clean after each use. You should install the iClicker Standalone application on a flash drive that can be carried from classroom to classroom. Once you’ve installed iClicker Cloud, create your instructor account.
Download and Install iClicker Cloud
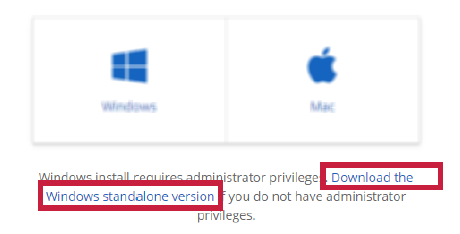
- Go to http://iclicker.com/downloads/iclicker-cloud.
- In the middle left of the page, click the Download the Windows standalone version link.
3. Locate the downloaded iClicker Cloud x.x.x. zip file.
-
-
- Check your Downloads folder.
- Note: x.x.x. in place of actual version number
-
4. Open the zip file.
5. Inside the zip file you will find the iClicker Cloud.exe file.
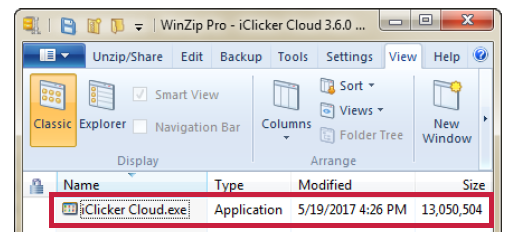
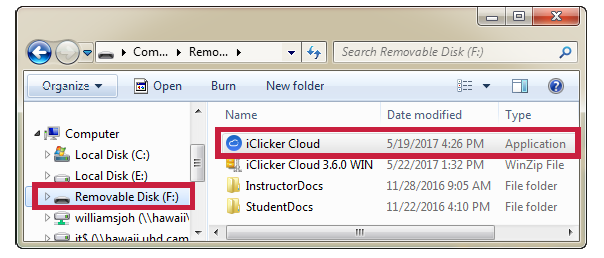
6. Click and drag the .exe file onto a flash drive (Removable Disk).
7. The flash drive that can be carried into multiple classrooms.
Create an iClicker Cloud Account
- Open the iClicker Cloud application.

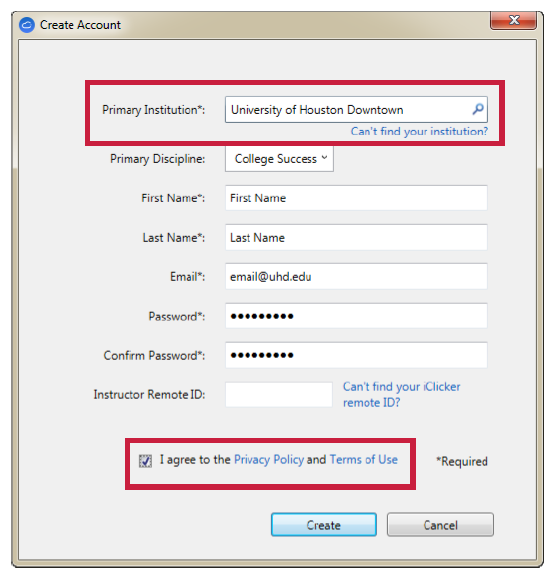
2. Click the Create Account button in the iClicker Cloud Sign In window.
3. In the “Primary Institution” field, enter: University of Houston-Downtown.
4. Fill in the rest of the form and agree to the Privacy Policy and Terms of Use.
-
-
- Use your uhd.edu email address.
- The password is not integrated with Single Sign On (SSO).
-
5. Click the Create button.
Create Courses in iClicker Cloud
Now that you have installed iClicker Cloud and created your instructor account, you should set up your courses. Create one course for each class that you are teaching in Blackboard.
- Open the iClicker Cloud application (if it’s not already open).
2. Sign In with your iClicker Cloud credentials (created in previous section).
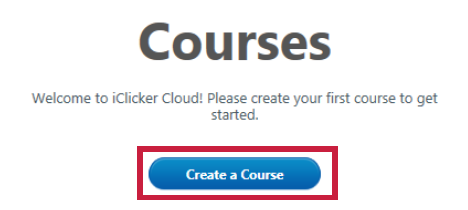
3. Click the Create a Course button.
-
-
- Alternatively, click the + button in the bottom left of the Courses menu to create a new course.
- Alternatively, click the + button in the bottom left of the Courses menu to create a new course.
-

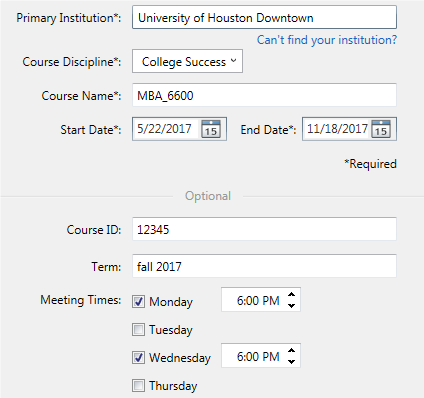
4. Fill in the Course Details.
5. Recommended:
-
-
- Course ID: Your CRN #
- Term example: Fall 2024
- Check boxes: Meeting days and times
-
6. Click create.
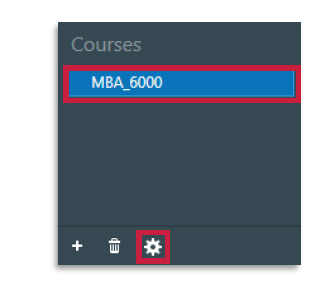
7. Confirm that your course appears in the Courses menu on the left.
-
-
- If you need to make edits to the course details, click the course title and click the gear icon at the bottom of the menu.
-
8. Repeat steps 3 through 6 for each additional course.
Sync Your iClicker Cloud Courses in Canvas
iClicker Cloud Roster & Grade Sync (RGS) allows you to quickly and easily pull your Canvas roster into iClicker Cloud and send your iClicker Cloud grades directly to your Canvas gradebook.
Set up your iClicker course to use Roster & Grade Sync
Follow these instructions for each iClicker Cloud course that you are integrating.
You only need to set up each course once.
-
From the iClicker Cloud instructor website, navigate to your course
-
Open the course "Settings" and go to the "Integrations" tab
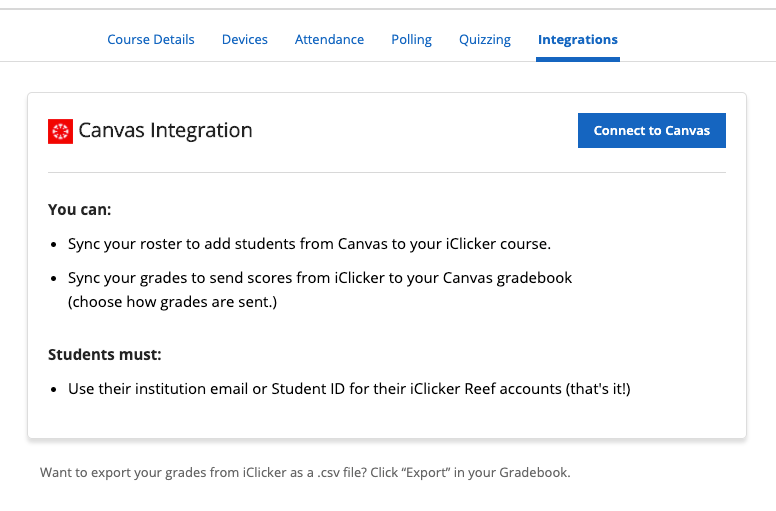
-
Click the "Connect to Canvas" button
-
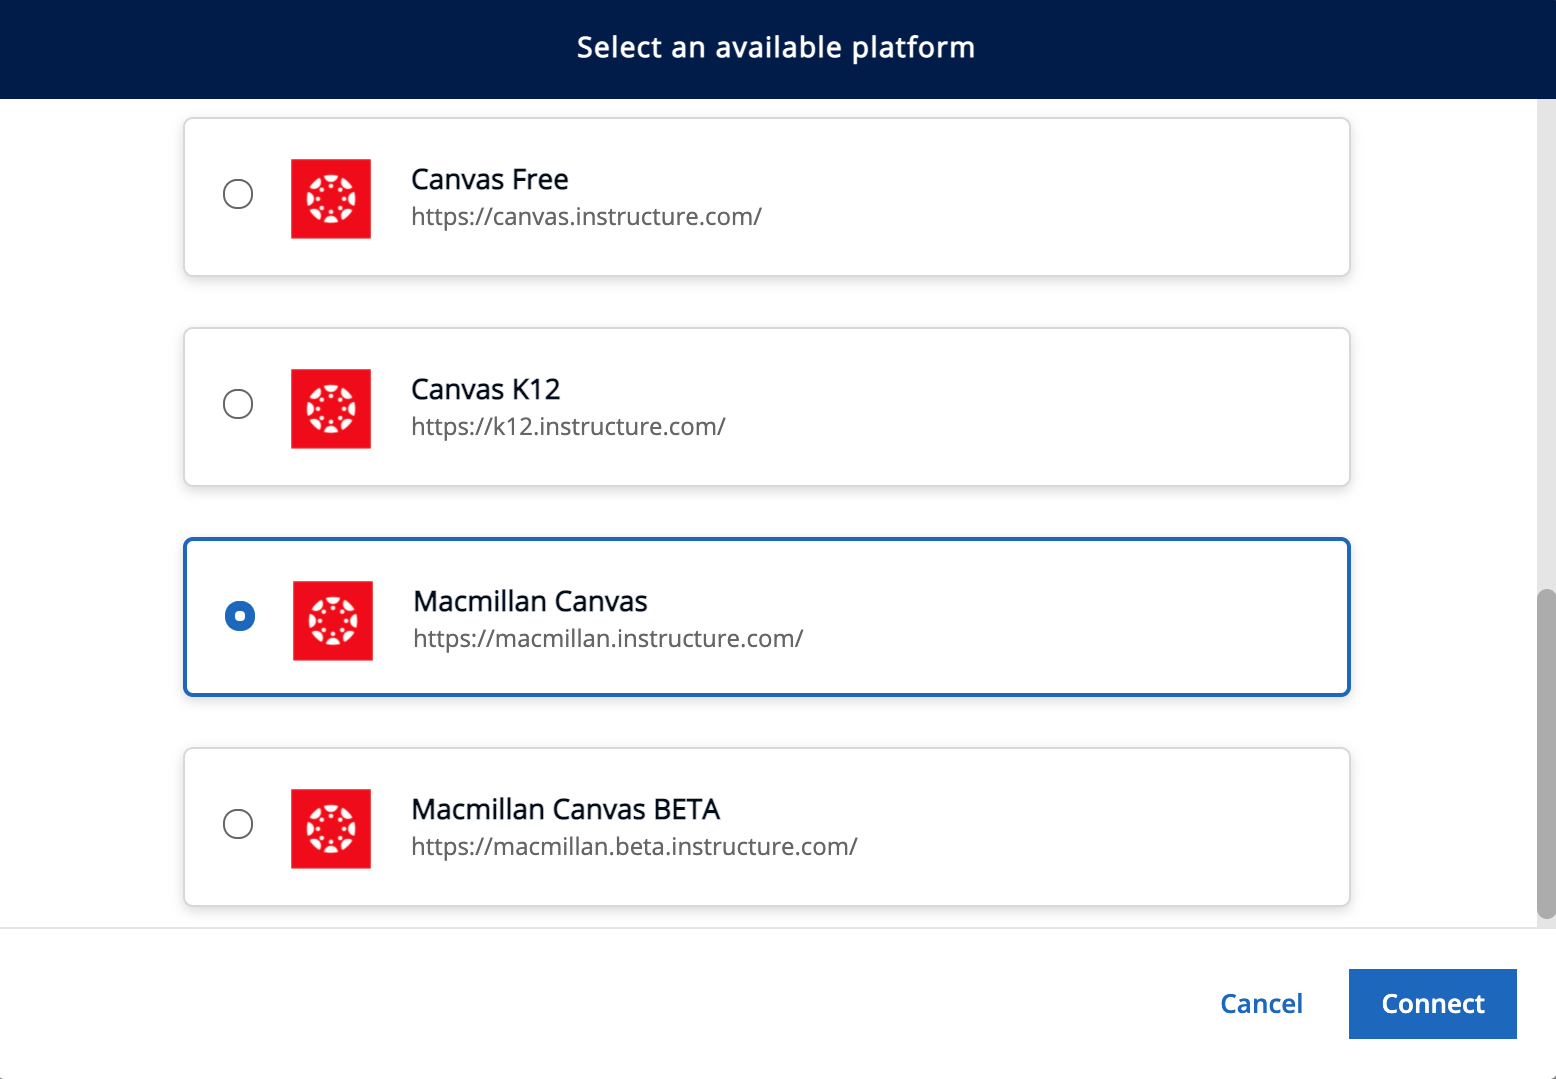
If your institution supports multiple learning management system instances, you’ll need to select which one you want to use
If there is only one LMS at your institution, you won’t see this step at all.
-
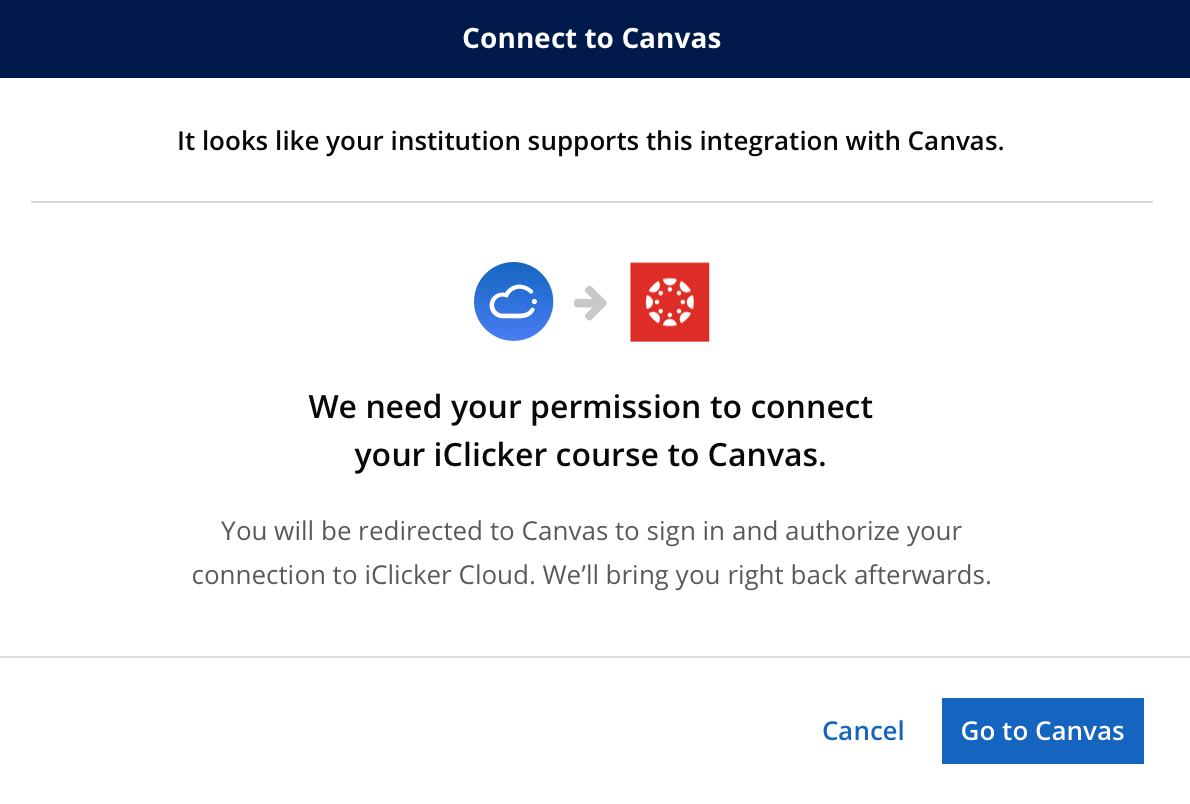
The first time you go through this setup, you’ll see a notification that you need to authenticate with Canvas
Click the button to continue to Canvas.
The browser will automatically redirect you to your institution's instance of Canvas to enter your login credentials and authorize the integration. Once you complete this step, you’ll be automatically redirected back to iClicker Cloud to continue with the setup.
-
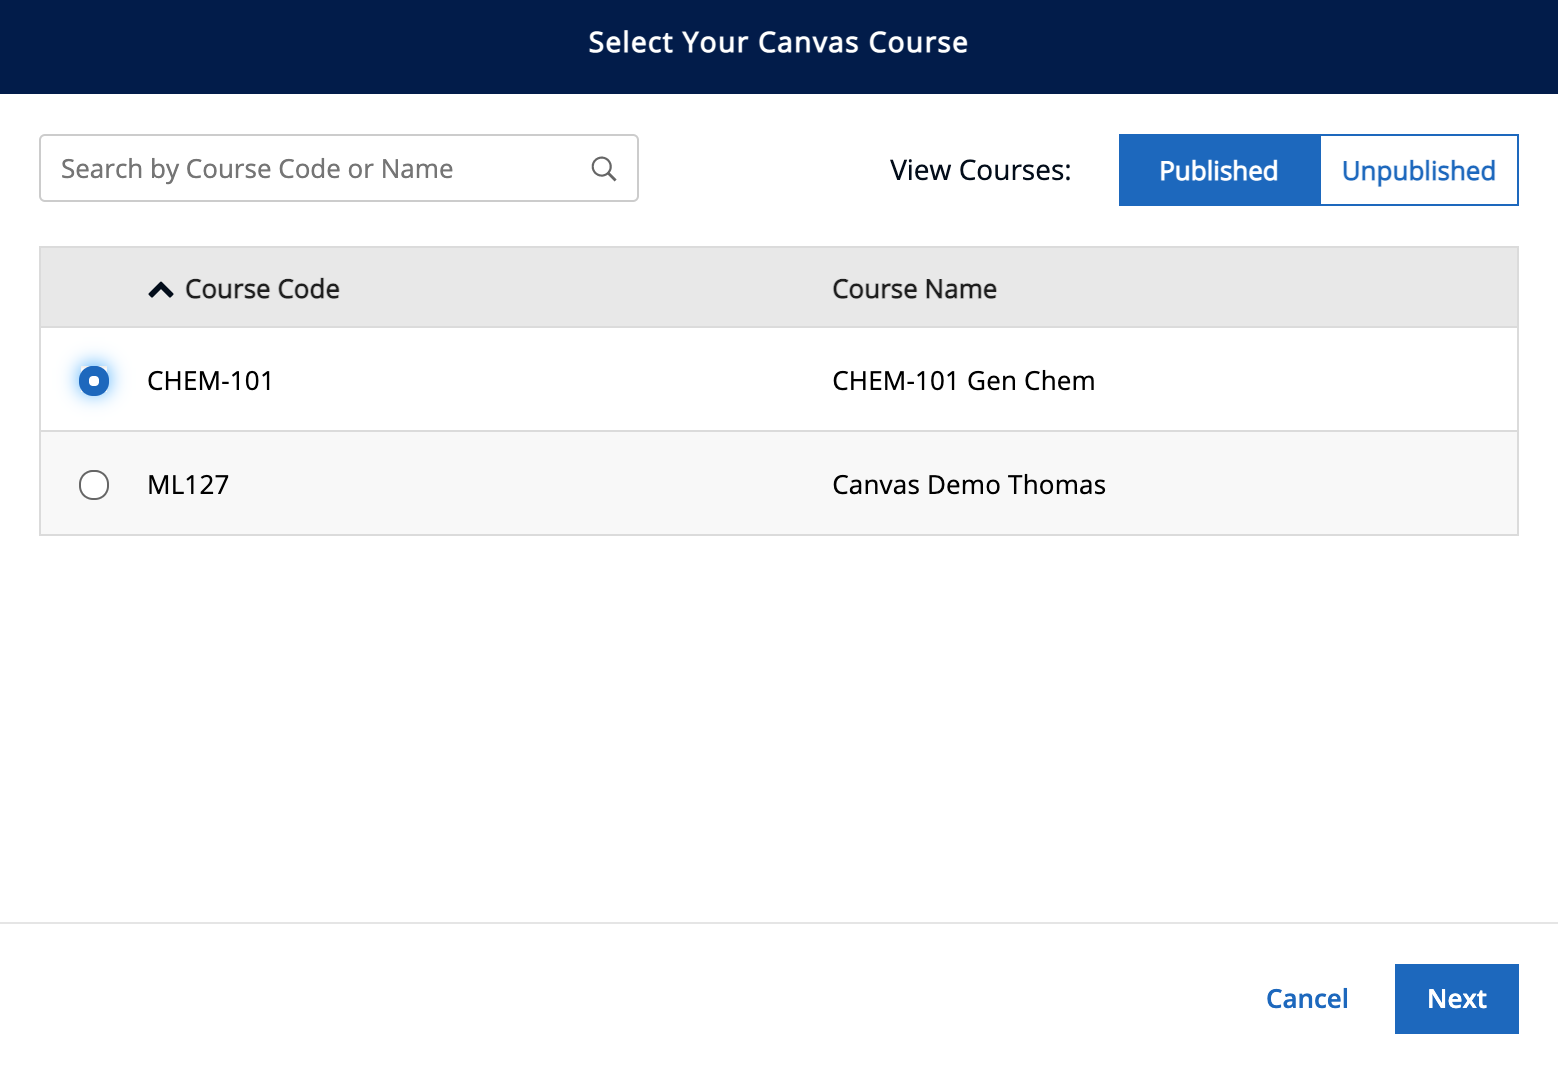
Now that your accounts are linked, you need to link your Canvas course to your iClicker Cloud course
From the list of your active Canvas courses, choose your course and then click the Next button at the bottom of the dialog to continue.
-
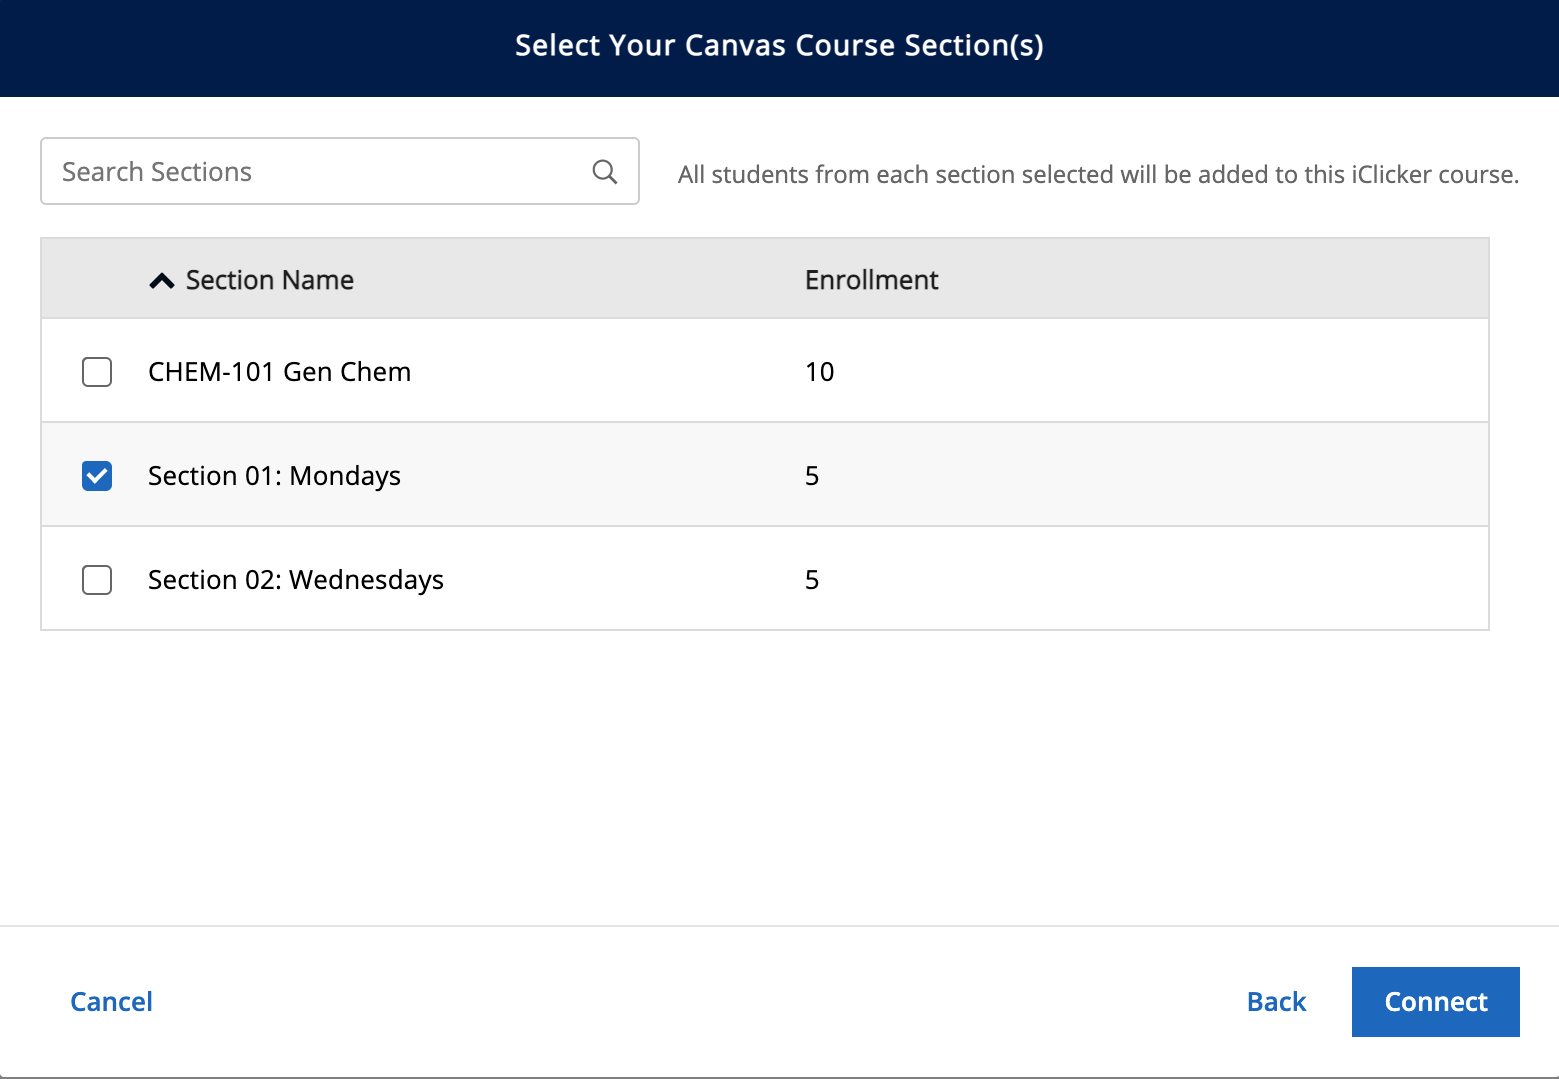
If the Canvas course you selected has sections, you will be shown a list of sections to choose from
You must select at least one section to continue. If your Canvas course does not have any sections, you won’t see this step at all.
Learn more about setting up Roster & Grade Sync in multi-section courses.
-
With your course mapping complete, you have the option to do an initial roster sync immediately, or you can choose to do it at any time later from the iClicker Cloud roster page ("People" > "Students")
Roster sync steps will be covered in the next section of this article.
-
After dismissing the setup modal, a summary of the integration is shown in the settings tab
Additional integration settings are available, including the option to disconnect your course if you need to make a correction.
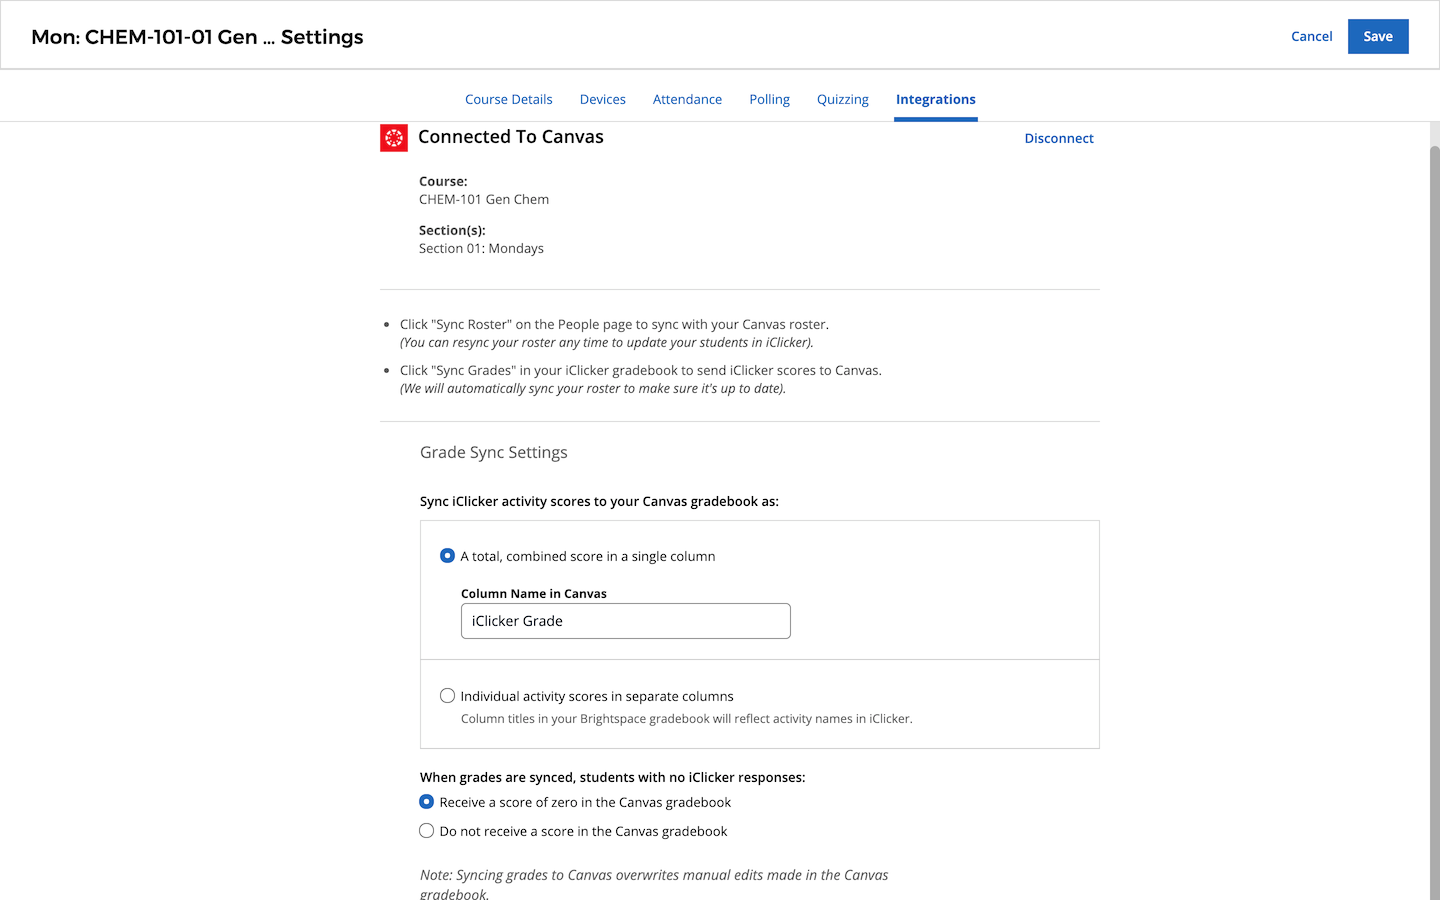
Grade sync options
- Sync to Canvas gradebook as a single total column (column name in Canvas is editable here) or separate columns for each activity (column names in Canvas reflect activity names in iClicker)
- If a student doesn’t have any iClicker responses, send 0 points to the Canvas gradebook or skip (leave entry blank)
Note: You can switch between the score options at any time, but the sync process will not remove any grade columns already added to your Canvas gradebook.
Sync your roster from Canvas to iClicker Cloud
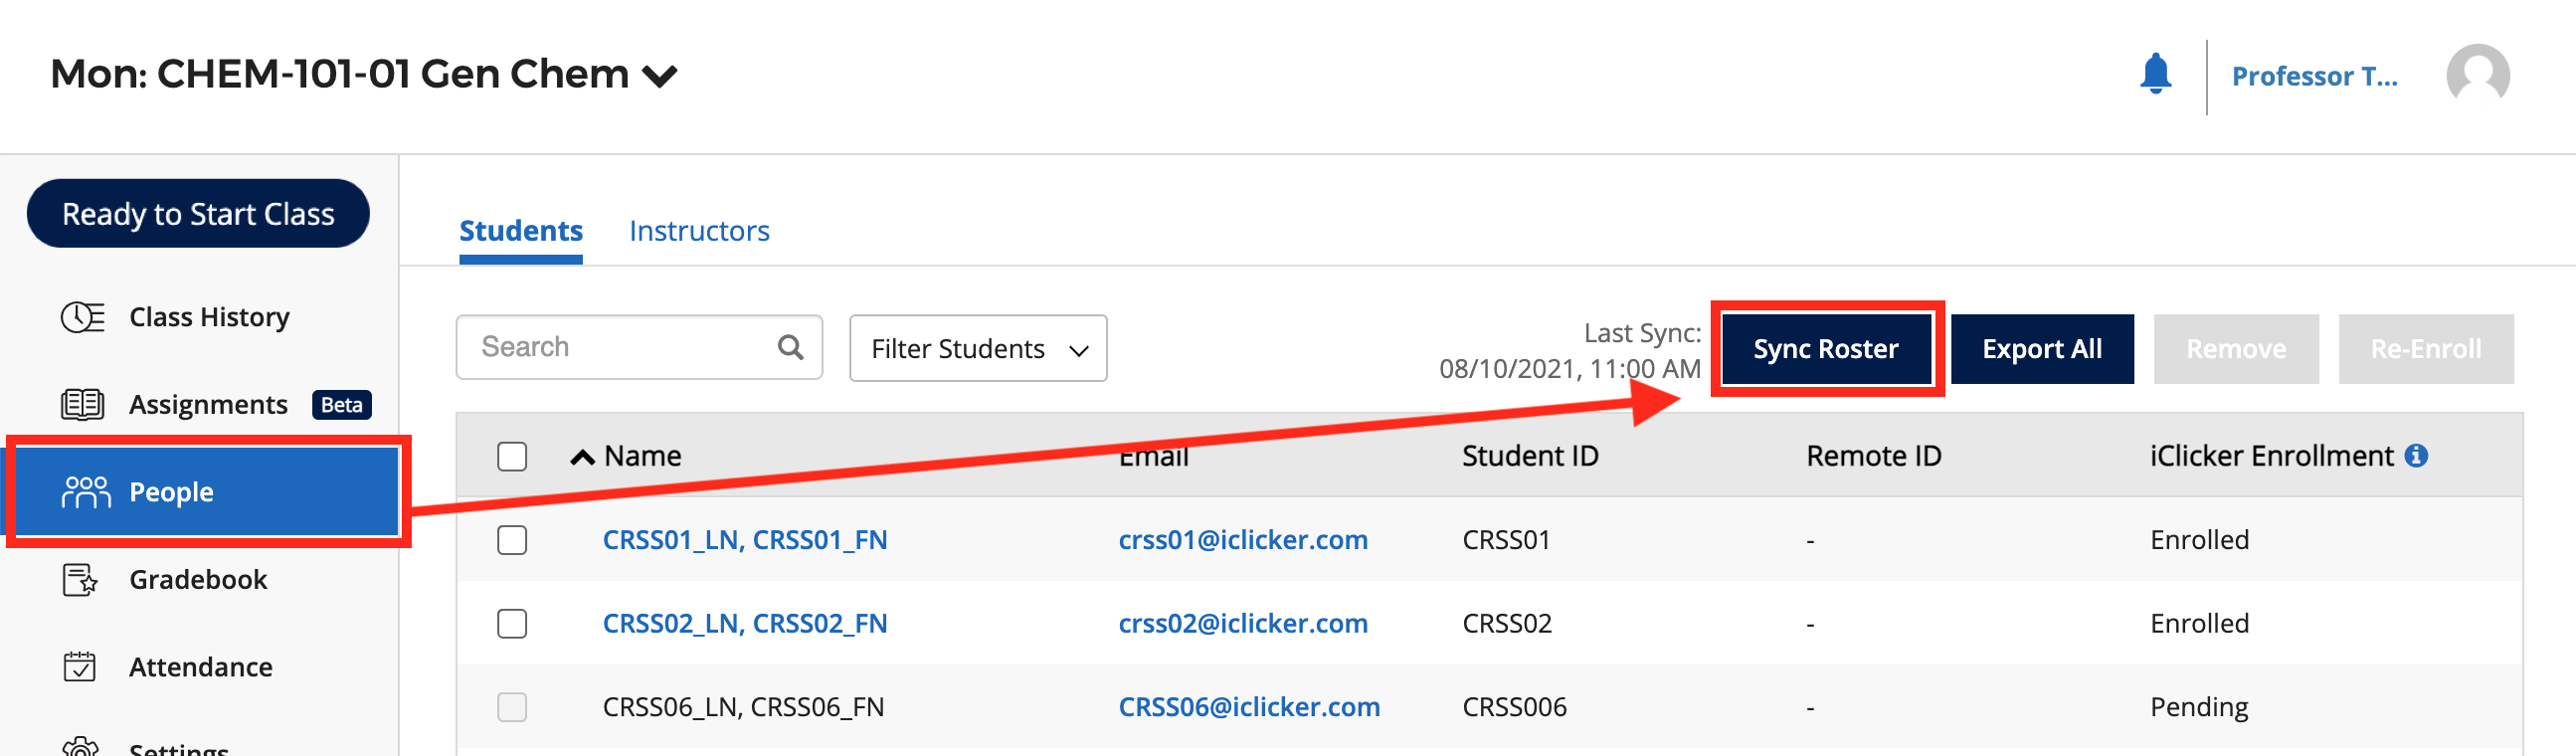
Once you have set up the integration, you will see a Sync Roster button on the Students page for your course.
-
Navigate to the "People" section of your course and click the "Sync Roster" button on the "Students" page to initiate the roster sync
Students from your Canvas roster are associated to an iClicker account by matching account information in the two systems. If a match is found and the student hasn’t yet joined your iClicker course, that student will get automatically added to your iClicker roster and sent an email notification. Student account matches use email address as the primary identifier but also use student ID and full name to supplement match success if an email match cannot be made.
-
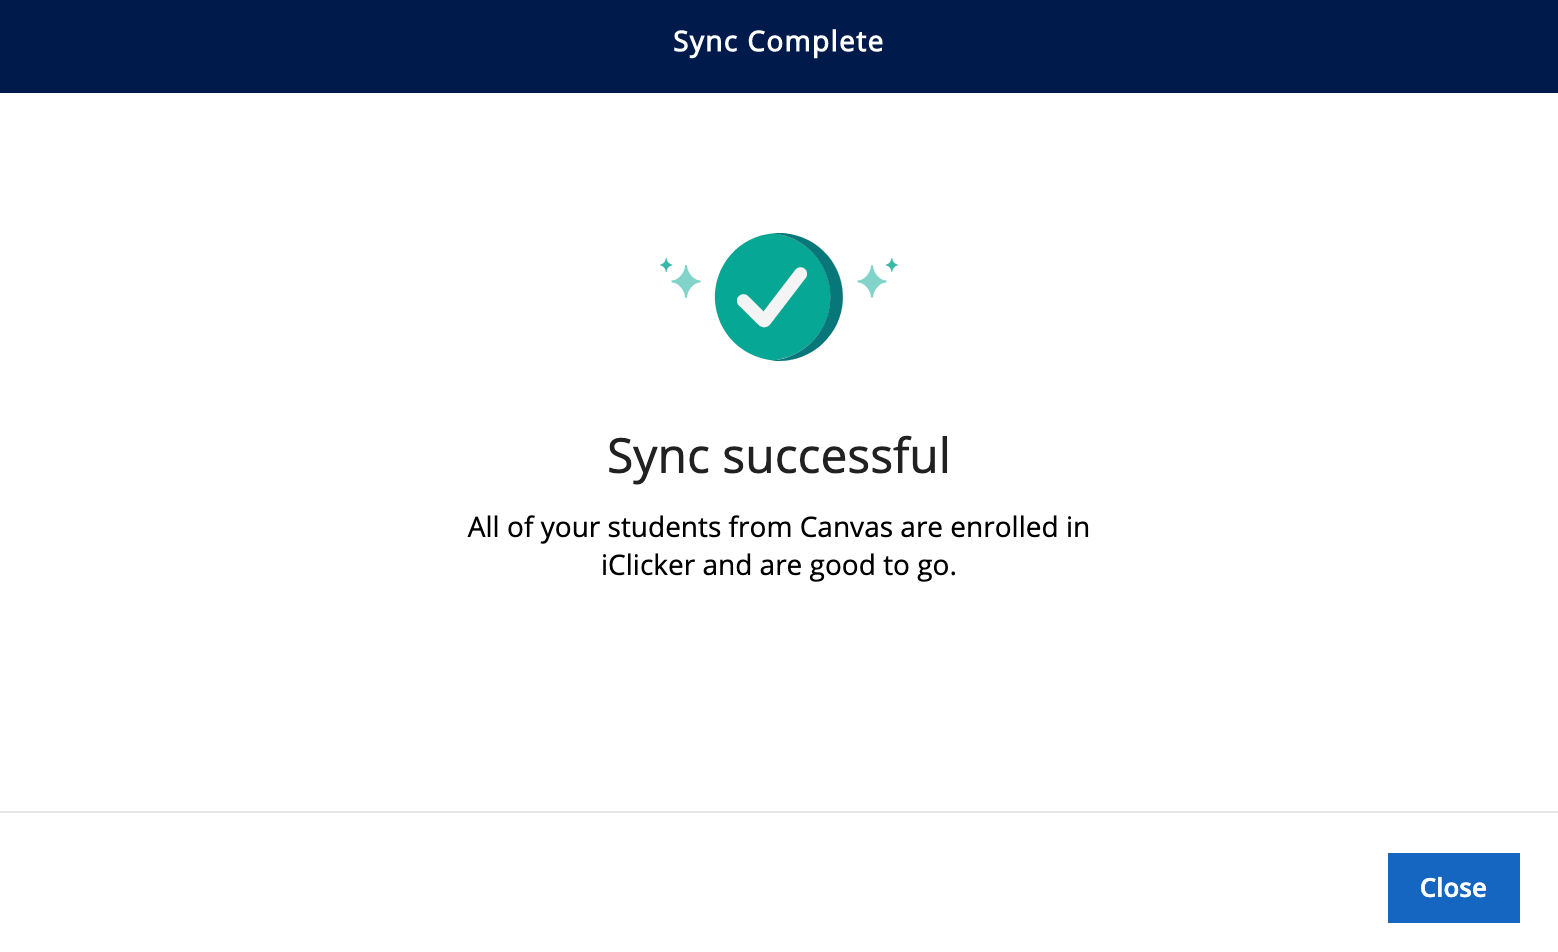
When roster sync is complete, a confirmation message is shown
If roster sync was totally successful, you'll see the following message.
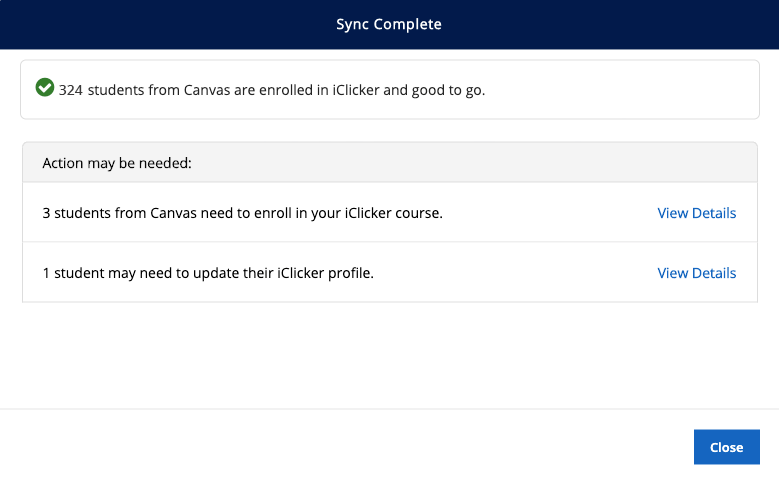
If some students from your roster did not sync, the dialog will appear as a summary showing a count of successful student syncs and a section describing action that you or your students may need to take to successfully sync the rest of your class.
Note: The fix for sync errors is for students to update their iClicker profile to use the email address that matches their Canvas account. If the student has created multiple accounts and needs assistance, please have them contact iClicker Support.
-
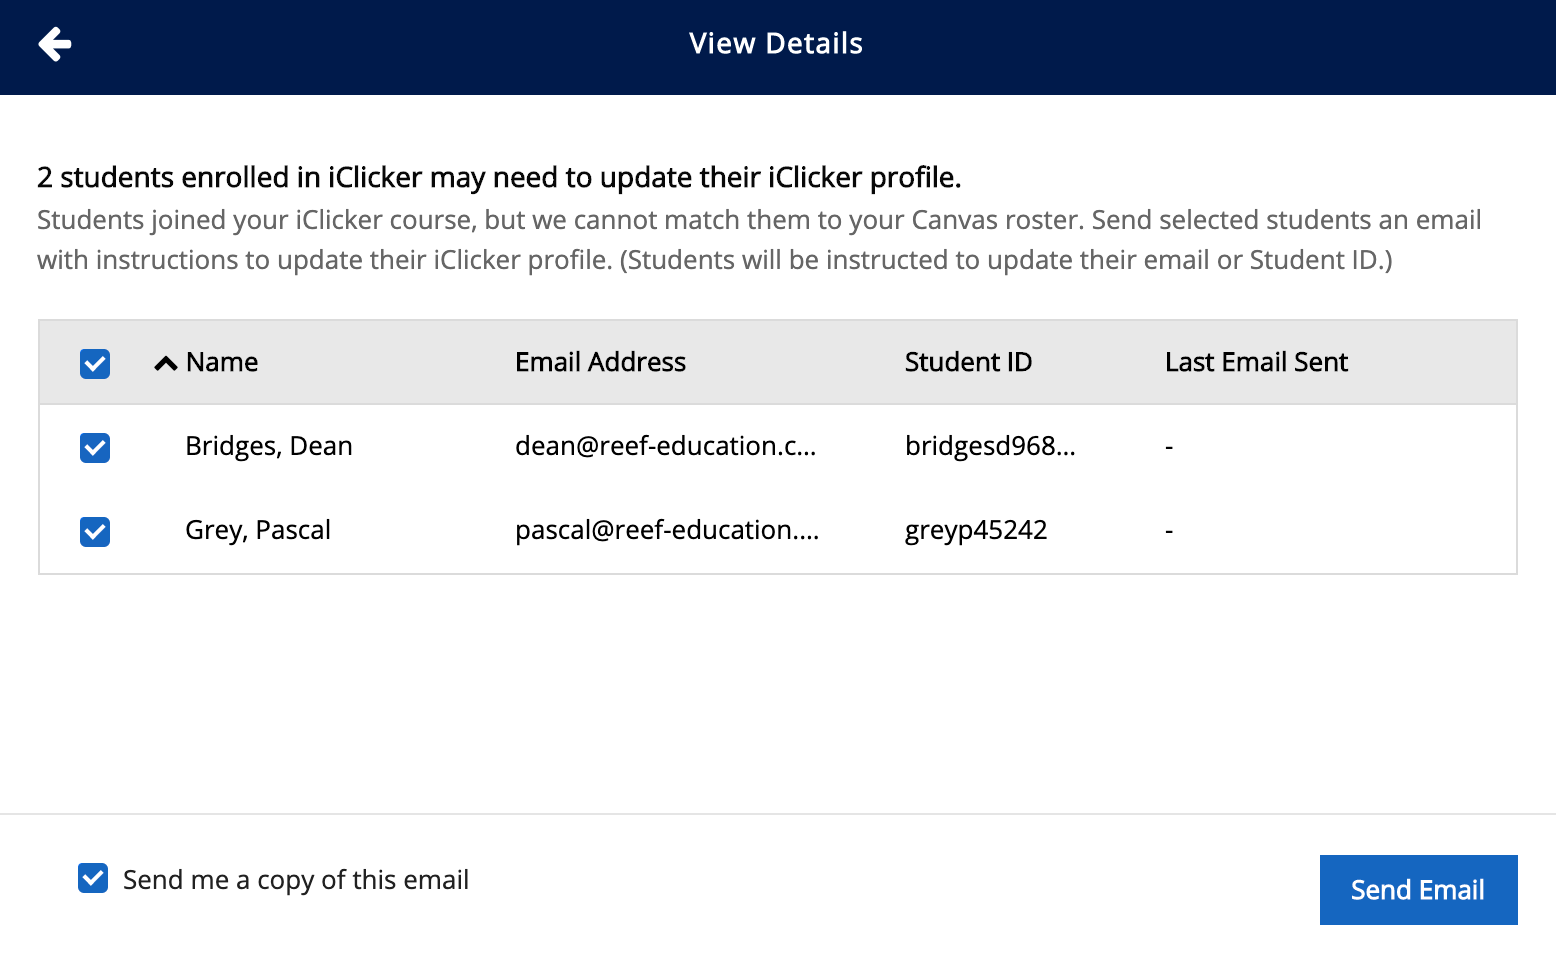
If you need to take action to get some students to sync, use the "View Details" links to see which students need help and what they need to do to fix their situation
- Select some or all of the students in the list to send an email. The email explains how students either edit their profile or create a new iClicker account so that they will sync with your course.
- Select the “Send me a copy of this email” setting to receive a copy of the email sent to students.
- The date that you last sent the student an email is shown in the table. You can only send an email to students once a day.
Sync your grades from iClicker Cloud to Canvas
Once you have set up the integration, you can sync your Canvas grades at any time from the iClicker Cloud gradebook.
-
A "Grade Sync" column appears in your iClicker Cloud gradebook when you have the integration active
This column displays icons to indicate the grade sync status for each student. The different icons and their meanings are summarized below. When viewing them in your iClicker Cloud gradebook, you can move your cursor over each icon to see a tooltip explanation.
| Icon | Explanation |
|---|---|
|
Student has not been synced yet.
|
|
|
Student is not found in the Canvas roster.
|
|
Student's grades have successfully been synced. |
|
|
Student's grades have not been synced due to an error.
|
-
Click the "Sync Grade" button on the "Gradebook" page to initiate the grade sync
Note that a roster sync is automatically included with every grade sync to ensure that your roster is as up-to-date as possible before grades are sent.
-
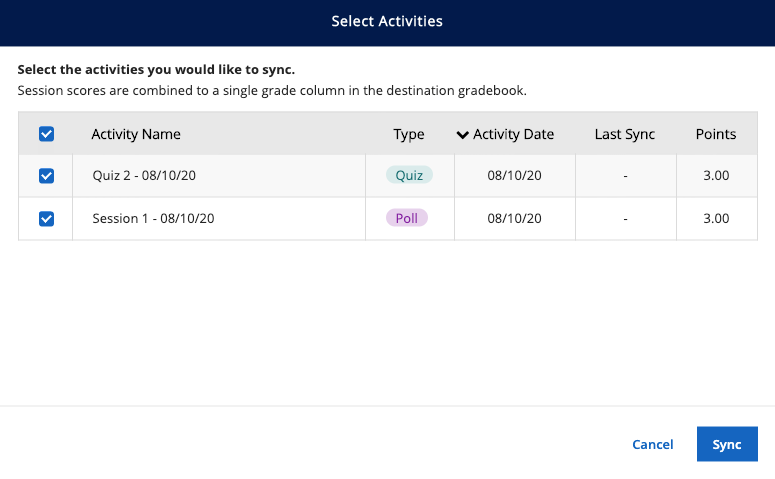
A dialog opens with a list of your course’s polls and quizzes
Select which activities you want to sync to Canvas, then click the Sync button.
-
When complete, a summary of the sync request is shown with the number of students successfully synced and any error details if an issue was encountered
This summary dialog will look identical to the dialog shown after a roster sync.
Changes to previously-synced scores that you make in Canvas will be overwritten the next time iClicker Cloud is synced. We recommend making score changes directly in iClicker Cloud, then sync to Canvas to ensure that the two gradebooks are consistent with each other.
The iClicker Cloud-Canvas grade sync is based on session ID when syncing individual polls and quizzes. Changing the name of a poll or quiz after you sync grades will not break the original association, but it might be confusing if your activity names don’t match between Canvas and iClicker.
Start a Polling Session and Grade User Activity
It’s easy to start polling sessions, but remember that iClicker is separate from your presentation software like PowerPoint. You will open your presentation file and the iClicker Cloud separately, and both will run at the same time. The iClicker window will stay in the foreground to give you quick access to the polling controls and results menu.
Start a Polling Session
-
- Open the iClicker Cloud application.
2. In the left-hand menu, click the course in which you’d like to start a polling session.
-
-
- Example: course title is Info Literacy.
-
3. Click the Start Polling Session button.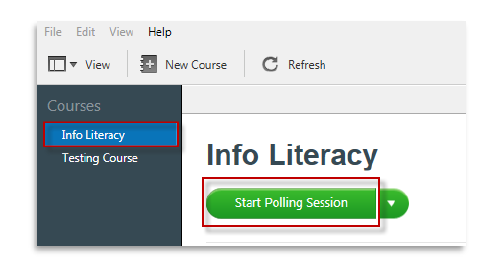 4. A small iClicker window will open in the foreground of the presentation.
5. Click POLLING to open a second small window with a blue play button.
-
-
- POLLING opens the session for students to Join

- POLLING opens the session for students to Join
-
6. Before clicking the Play button, make sure that your presentation file is open.
-
-
- Example: PowerPoint presentation with multiple choice questions.
-
7. Click the Play button to start a timer.
-
-
- A tally of the responses received will appear to the right.
-
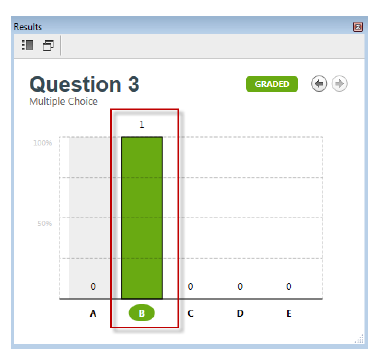
8. When all responses have been received, click the Stop button.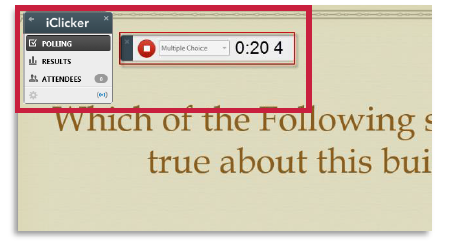 9. In the iClicker window, click RESULTS to show a chart of student responses.
-
-
- Students cannot submit responses once the polling has stopped.
- Feel free to discuss the results with students.
-
10. Click the correct answer column to grade the question.
-
-
- Grading can also be done after the session is closed in the Session History.
- Grading can also be done after the session is closed in the Session History.
-
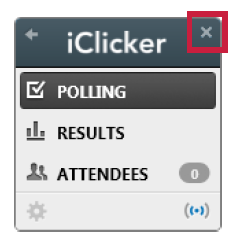
11. Click the X icon in the upper right corner of the iClicker window to end the session.
-
-
- Click the End Session button in the dialogue window.
-
Viewing Session History/Grade Book
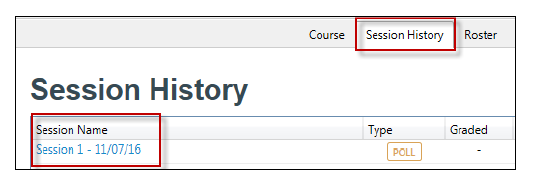
- You will find a list of all past sessions in the Session History tab of the iClicker software.
- Click the Session Name of the session you’d like to review and grade.
3. To view a list of all students, session, and grades, click Launch Gradebook in the upper right corner.
-
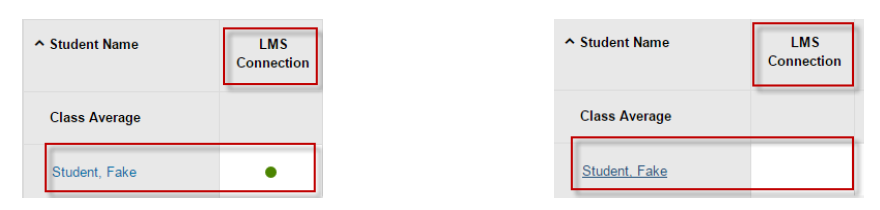
A. Students who have clicked the LTI link in Canvas will have a green dot in the LMS
Connection column.
B. Students who have NOT clicked the LTI link in your Canvas course will have no green dot.
4. Click the Sync Scores to LMS button to automatically publish iClicker scores to Canvas LMS.
-
-
- Students who have not synced will receive an email reminder.
-