Creating Test/Quizzes
Blackboard’s Test Tool allows the creation of online Tests, Exams or Quizzes. This
is just one method for providing a quiz or test in Blackboard.
NOTE: There is a survey tool (generally not a graded item) and a Pool Manager, where
banks of questions can be stored for use in a test. Additionally, some publishers
have test banks that can be exported to Blackboard and there are third party tools
(i.e. Respondus and TestGen) that can be used to help facilitate test creation.
Create a Test
1. Enter the course in which you wish to create the test.
2. Make sure to turn edit mode ON at the top right‐hand corner of the page.
3. Under the Course Management area, click on Course Tools.
4. Select Tests, Surveys, and Pools.
5. From the Tests, Surveys, and Pools page, click on the link for Tests.
6. From the Tests page, click on the Build Test button.
7. Once the test information has been entered, click the Submit button to add questions to your test.
Create an Individual Test Question
Once your test has been created, you will need to add questions. To manually create questions inside of Blackboard:
1. Click on the Create Question button and choose the question type that you will be adding to your course (for this example we will create a multiple choice question).
2. Within the “Create/Edit Multiple Choice Question” window, enter the question title, text and complete the options (answer numbering, orientation, allow partial credit, random order).
3. Choose the Number of Answers for the question, and then provide answers in the appropriate places.
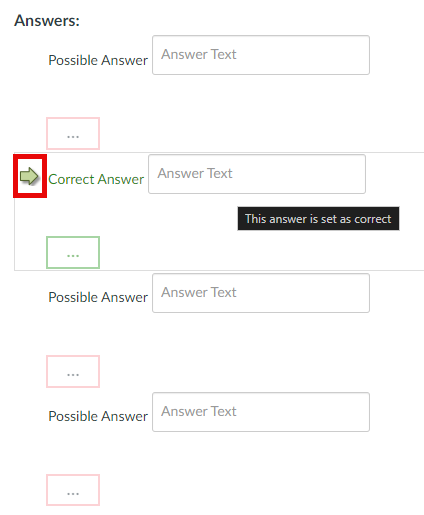
4. Designate the correct answer by selecting the radio button beside the correct answer choice.
5. If you have any question feedback to provide to the students, add it in the available Feedback text areas.
6. To add any information regarding categories and keywords, add the information by using the appropriate Add button.
7. If any Instructor Notes are required, place the information in the text area provided.
8. Once your question settings have been verified, click Submit to add the question to the test.
9. You may also click Submit and Create Another to add another Multiple Choice question.
10. Repeat this process to create additional question to the test.
Add a Random Set of Questions from a Pool
Chances are if you imported questions into Blackboard, you created a Pool. Using Pools, an instructor can add a random set of questions to a test.
- From the “Test Canvas” page, click the Reuse Question button, and then select Create Question Set.
2. In the “Choose Criteria” column, select Pool.
3. Place a checkmark in the boxes that contain the questions you would like to add to the test. Optionally, you may select All Pools.
4. Use different combinations of the “Browse Criteria” to search for questions. For example, you may want to select the Question Types criteria and only include True False questions.
5. Select the questions you would like to use in your random set of questions. You may also select all.
6. Once you have selected question settings, click on the Submit button to add the questions to the test.
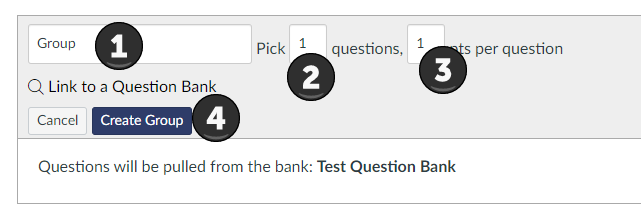
7. Once the set of questions has been added to the exam, select the number of questions to display. In other words, how many random questions from the set should each student answer?
8. Click the box containing the number 1.
9. Enter the number of questions to display.
10. Click Submit.
11. Next set the number of points per question by clicking the box containing the number 10.
12. Update the points per question and then click Submit.
13. You may add additional question sets or individual questions. When you are finished, click OK at the bottom of the screen.
14. New! By default, when you create new questions, they are added to the end of the test. Reorder questions using the drag-and-drop function
Deploy and Set Properties for the Test
Once your test has been created and contains questions, you will need to deploy the test and set test settings. Tests need to be deployed in a content area in your course.
1. To deploy the test, first select the area which you will add the test. In this example, we will add the test to the “Tests” area of the course.
2. Click the Content area. Click Assessments button and then select Test.
3. Now in the “Add Test” area, select your test from the “Add Test” box and click Submit.
4. You will be directed to the “Test Options” area. You may edit the name or the description.
5. New! You may choose to make the description visible to students before they click the link to take the test.
6. Determine if you would like the test to open in a new window.
7. Scroll down to “Test Availability”. The following options are available:
- a. Make the Link Available - Select Yes to allow students to access to the Test.
- b. Add a New Announcement for this Test - Select Yes to add a new announcement for the Test.
- c. Multiple Attempts - Allow Students to take the Test an unlimited number of times or a set number of times.
- d. New! Score Attempts Using- If you allow multiple attempts, you can select one of the following:
- Last Graded Attempt—the default
- Highest Grade
- Lowest Grade
- First Graded Attempt
- Average of Graded Attempts
- e. Force Completion - Students must complete the Test the first time it is launched (not recommended)
- f. Set Timer - A timer displays to the Students during the Test
- g. Auto-Submit – If a timer is set, turning Auto-Submit on will save and submit the test automatically when time expires.
- h. Display After/Until –sets the viewing properties for the test concerning date/time
- i. Password - Set the password required to access the Test.
8. New! Scroll down to the “Test Availability Exceptions” area. Here exceptions can be made to the existing test availability rules set above. Use exceptions to provide an accommodation to a student who is disabled, or for technology and language differences.
9. Scroll down to the “Due Date” area. Set a due date to easily include the test’s dude date on the Notifications Dashboard, also known as the Home Page.
10. Optionally, by checking Do not allow students to take a test once the due date has passed, students will be unable to start the Test if this option is selected.
11. Scroll down to the “Self-Assessment Options” area. The options available to you are:
a. Include this Test in Grade Center Score Calculations - Test results can be used in Grade Center calculations by selecting this option.
b. Hide Results for this Test Completely from Instructor and the Grade Center - Test scores are hidden in the Grade Center. NOTE! If you check this box, test takers will only receive a completion grade. The actual score of the test cannot be retrieved.
12. New! Scroll down to the “Show Test Results and Feedback to Students” area. Select what feedback displays upon completion of the test. Feedback options may be changed once the test has been given.
13. You must make a selection. Set when appropriate test results and feedback are shown to students:
- a. After Submission: This is the default option.
- b. One-time View: After students submit their tests or surveys, the selected results and feedback options are in effect for students to view ONCE.
- c. On Specific Date: View results and feedback after the selected date and time.
- d. After Due Date
- e. After Availability and End Date
- f. After Attempts are graded: After all students submit the test, and all attempts are graded, results are made available. If one or more students do not submit an attempt, you must assign a grade of 0 so that all students can view the chosen results and feedback.
14. Scroll down to the “Test Presentation” area. The options available are:
- a. Presentation Mode:
- i. All at once - The entire test is displayed on one screen. Students may have to scroll down to answer all questions.
- ii. One at a time - Each question is displayed alone on the screen. Students controls going to the next question.
- iii. Prohibit Backtracking - The setting is only used when questions are displayed one at a time. Students are not allowed to go back and change the answer to a question that has already been answered.
- b. Randomize Questions - Tests with multiple questions will display them in a random order to Students
15. Once you have finished selecting the test options, click the Submit button. Your test has been created.
16. To edit the test questions, click Edit the Test. To edit the settings for the test, click Edit Test Options.
For additional support, visit http://uhd.edu/bbhelpform