Recording Presentations with Zoom
Overview
Zoom is an excellent application for delivering presentations to groups or individually. Zoom has tools that make screen sharing, recording, and annotation simple. This document outlines the basics of recording meetings that you can share with students and colleagues.
Start a Meeting
Launch the Zoom Client and Sign In with SSO. (Instructions for signing in with SSO)
Once the application opens, click New Meeting.

The meeting window will open. If prompted, select Join With Computer Audio.

Review tools a, b, c, and d below. You will use some or all of these tools to record your presentation.
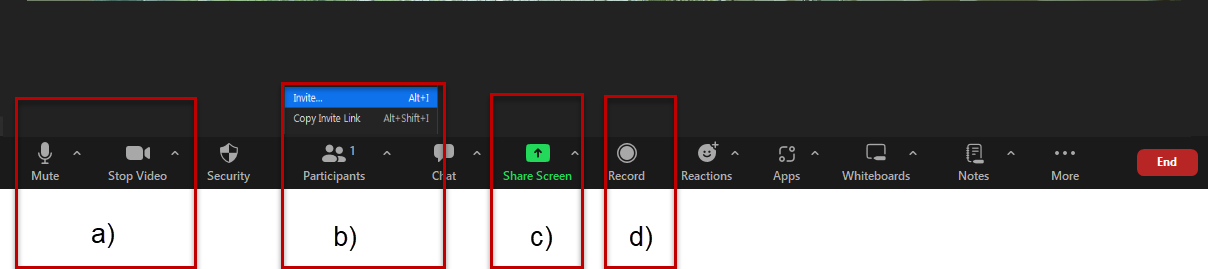
- Audio/Video settings: Mute/Unmute your mic and turn your webcam video on/off.
- Participants > Invite: Invite others by URL or by email.
- Share Screen: Show a PowerPoint or other presentation in the Zoom meeting.
- Record: Create an MP4 file that can be uploaded to a server such as OneDrive or YouTube and shared or record to the cloud and share a video link.
Open Presentation Materials
Minimize your Zoom meeting and open any files and/or programs you plan to use in your presentation and close anything you won’t use. If you don’t plan to use something right away, minimize its window until you’re ready.
Note: Remember to close anything confidential that you don’t want in the recording like emails and grades.
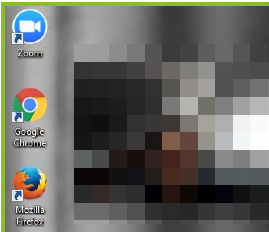
Once you have opened your materials, return to your Zoom screen by selecting Zoom in your task bar.

Share Your Screen and Record Your Presentation
Click the Screen Share (c) button in the toolbar.
Select a window or an application you want to share. Take note if using a computer with two monitors.
-
- Example: Screen 1 is selected in the image below.
Click the Share Screen button.

You will see a green border around the screen or application that is being shared.
If you are using a webcam, your video image will remain in the foreground.
-
- Move/resize as needed.
- The webcam video will appear in the final recording.
Enlarge or resize you presentation materials. If you are using a Powerpoint, you may now enter Slide Show view.
Click the Record (d) button and choose either: “Record on this computer” or “Record to Cloud.”
-
- Once screen sharing starts, you will find Record options in the More… menu of the top toolbar.
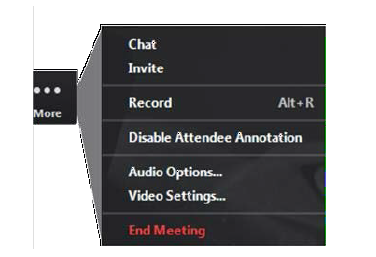
When your presentation is finished, click Stop Recording in the More… menu.
Click End Meeting when finished.
- The recorded meeting will be converted to MP4 once the meeting has been ended.
- If you have chosen to record to the Zoom Cloud, you will get a notification email once your recoding is complete. (More information about recording to the Zoom Cloud)
Login to https://uhd.zoom.us to locate your recording.

For additional support, Email TTLCHelp@uhd.edu.