How to build your first VR project in Unity
Brief discription:
In this introductory tutorial, we'll cover the basics of setting up Unity for VR development, including selecting the right hardware and software tools, understanding VR concepts, and creating a simple VR experience. By the end, you'll have a solid foundation to build upon and unleash your creativity in the immersive world of virtual reality.
|
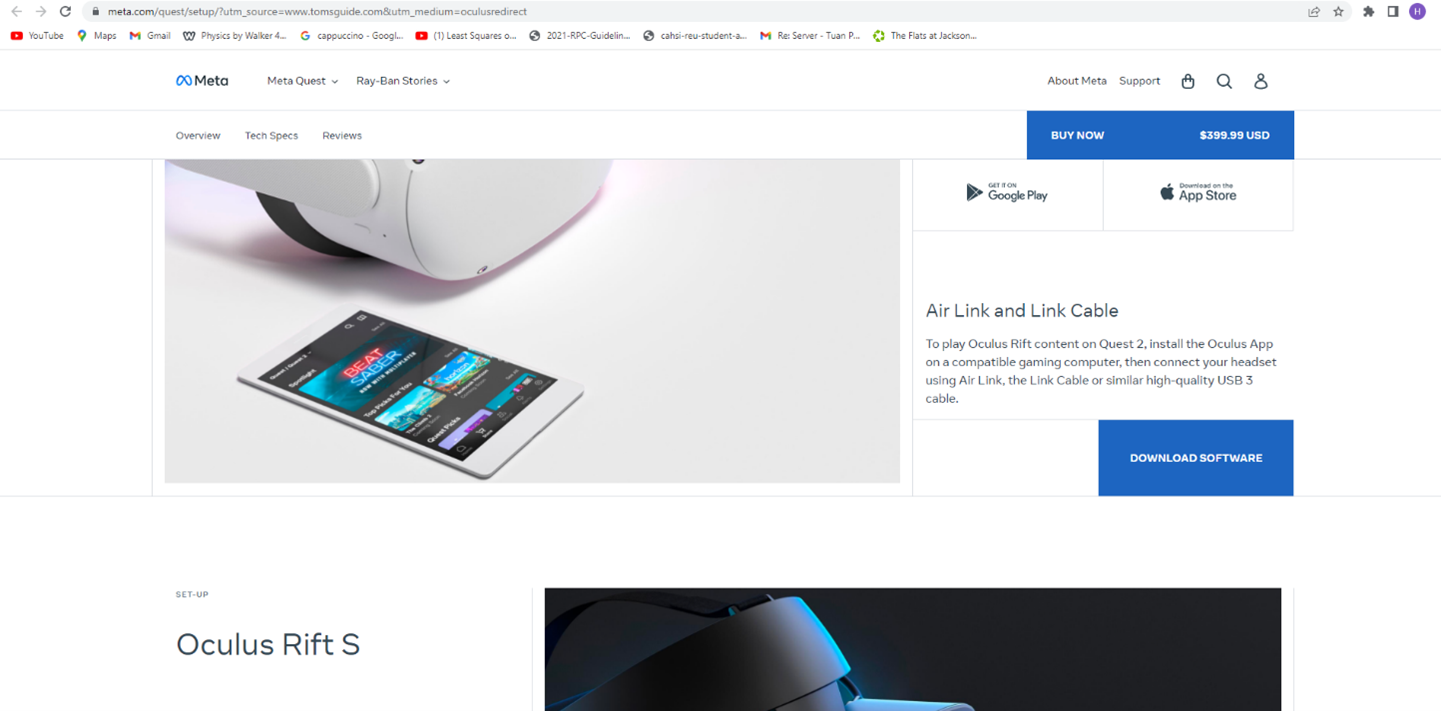
Make sure we download the Oculus app on your Pc as well as on your phone first. Make sure your Meta Quest 2 is turned on. In the Meta Quest app, select Devices, and then Add Headset. |
||
 |
||
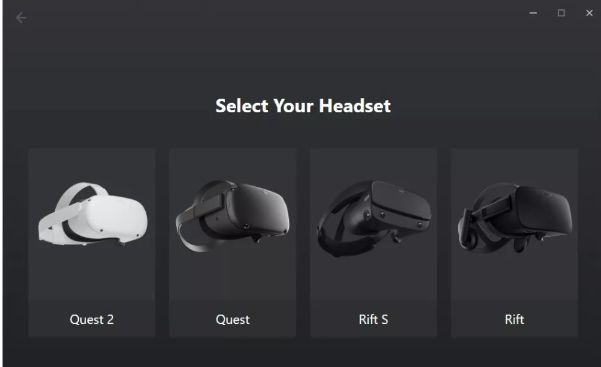
| Select Quest | ||
 |
||
|
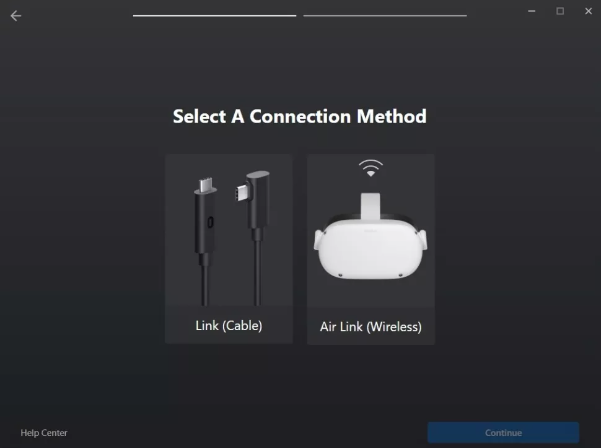
Select Link (Cable) |
||
|
|
||
|
Plug one end of the cable into your Meta Quest 2 headset, and the other end of the cable into your PC. In the Meta Quest app, press Continue. On the screen that appears next, you can choose to test your cable connection, or press Continue. Your Meta Quest 2 is now connected to your PC. |
||
|
|
||
|
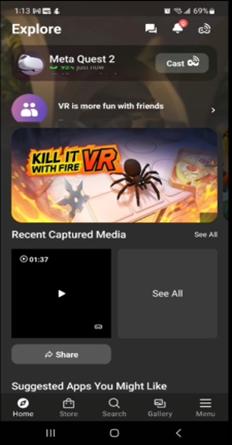
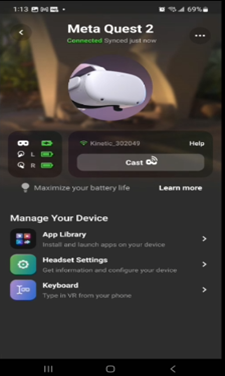
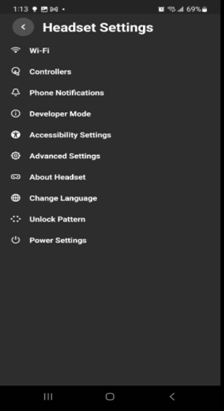
For the Oculus app on your phone, the purpose is to turn on the developer mode for us to run and debug the app in the future. In order to turn on the developer mode we tap on Meta Quest 2(Figure 1) -> Headset settings (Figure 2)-> Developer mode (Figure 3)-> Enable Developer mode |
||
|
Figure 1 |
Figure 2 |
Figure 3 |
|
|
|
|
|
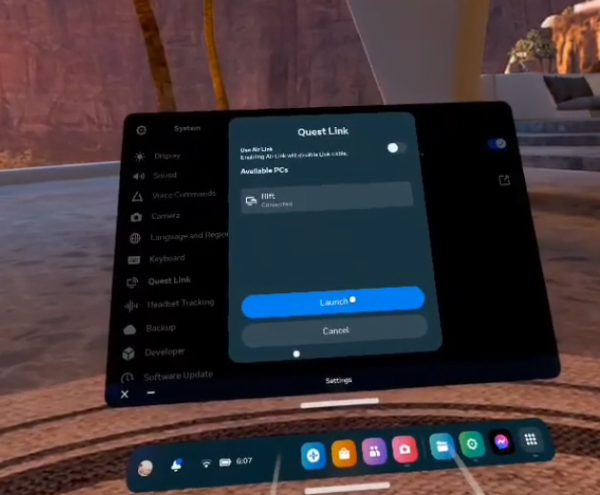
Now we can try to connect the Headset to the Pc via the Quest link, when we do that , It would be convenient for us to test the application, when you hit play in Unity, the headset will take you straight up to your running application. From the headset, we can connect to the Quest link by clicking on setting->system->Quest Link-> Launch Quest Link |
||
|
|
||
|
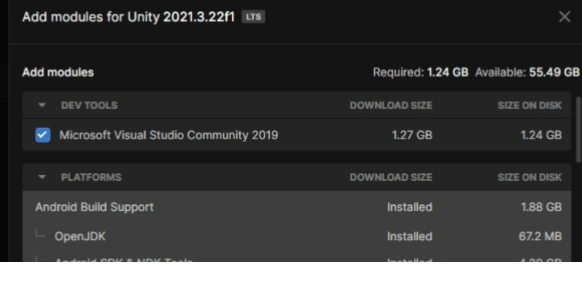
After your headset is connected to Pc via Quest Link, we can leave it for now and go to Unity. Since we are using Meta Quest 2, we need to have an Android build support package for it to work. |
||
 |
||
 |
||
|
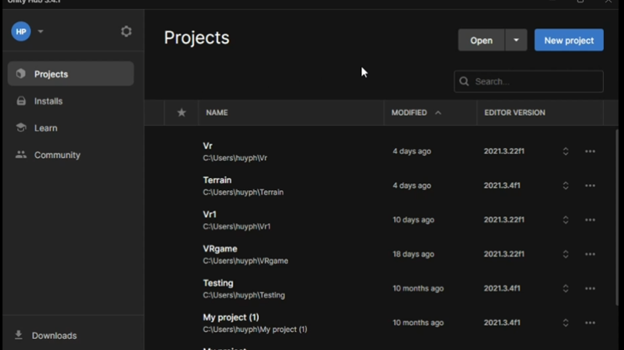
Next we go to new project-> chose regular 3D project-> name the project-> create project, and then make sure when you go in your Oculus app on Pc-> settings-> General, the Unknow sources section must be enabled. |
||
|
|
||
|
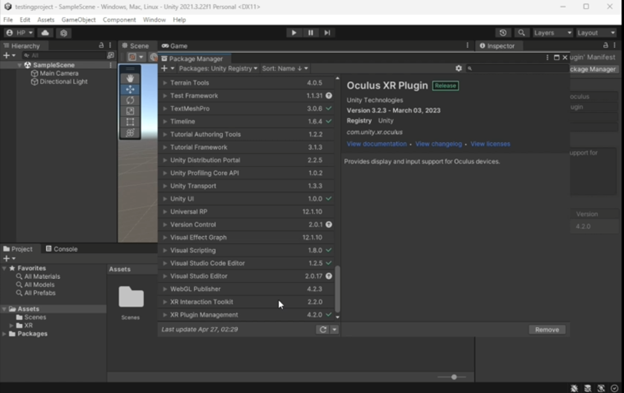
After the project is built, we need to go to the package manager and download Open Xr plugin and Xr interaction Toolkit. Those packages come with some prebuilt scripts so we don’t have to write the code by ourselves. When Xr interaction Toolkit is downloaded, we go to samples, import the starter assets. |
||
|
|
||
|
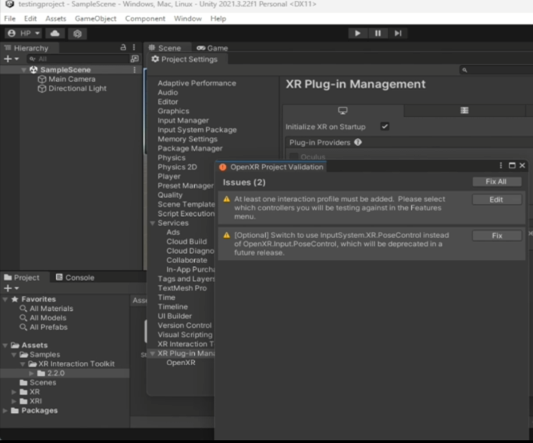
Next we go to Edit-> project setting-> chose Open Xr, then there will be the warning sign next to it, we can just simply click on the sign and then click fix all (figure 4) , then go to the OpenXR section right below XR plug-in management, click the add sign under Interaction profile then chose Oculus touch controller profile( figure 5). |
||
|
|
||
|
|
||
|
Next we click on Xr plug-in management on the same window, chose the android icon tab, then chose Oculus. After that, we can close the Project setting window. |
||
|
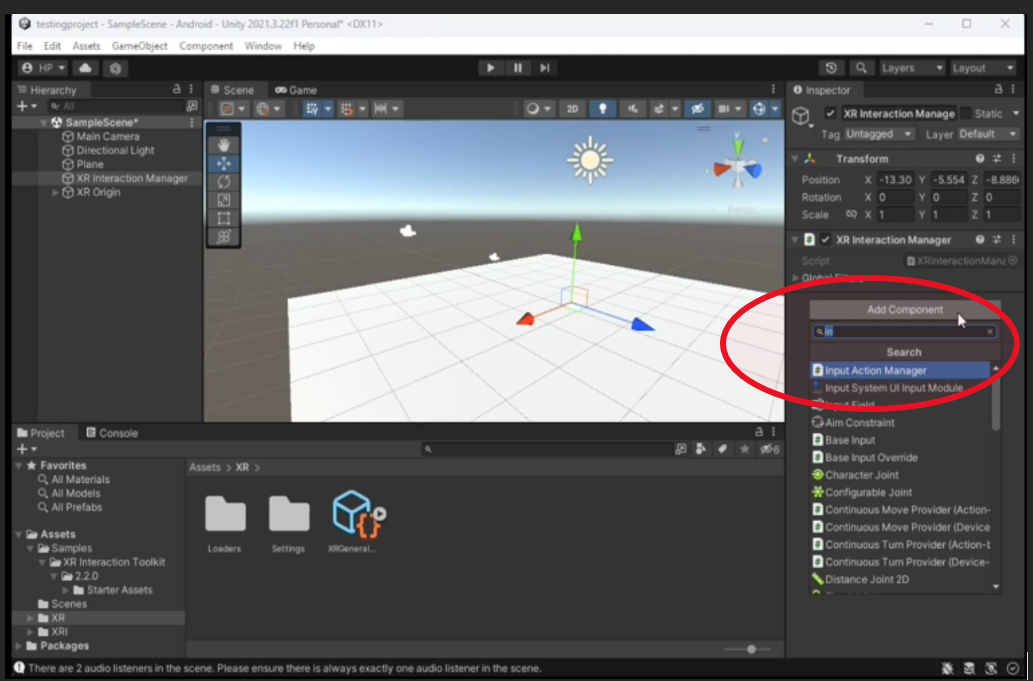
In the Xr interaction toolkit that we download, we can see some pre-setup for action scripts like continuous move, continuous turn, and so on, we want to add those into our preset. |
||
|
|
||
|
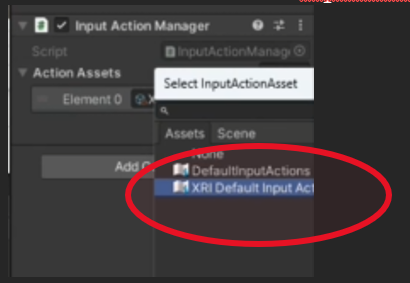
We also need to select inputActionAsset and chose XRI Default input |
||
|
|
||
|
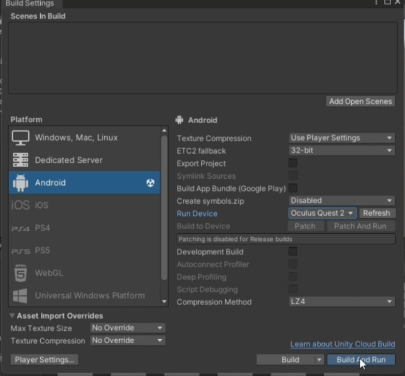
Our last step is just to switch out the platform from PC to Android. Go to File->Build Settings, chose the Android icon, then click Switch Platform. After it is done switching, we chose the run device as Oculus Quest 2, then click Build and Run. |
||
|
|
||
|
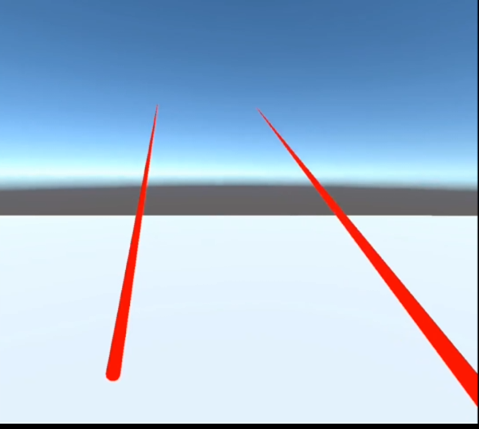
After you chose your file name, save it, close the window then all we need is to hit the play button and you will have your first Vr project. |
||
|
|
||


 (figure 4)
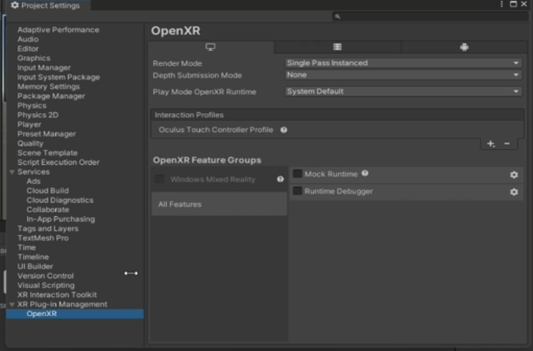 (figure 5)